Friday 26 July 2013

Pinterest!

Just a quickie from me today. For some time I've avoided Pinterest by choice but after recently looking for something quite specific and trusty google not being able to help I decided to temporarily sign up to Pinterest to see if it could help.......I'm hooked!!

Not a day goes by that I can resist having  a quick looksee at what delights may interest me. 

If your around, check out what has caught my eye, I'm ramblingmumof3, see you on the other side!

                              M xx

Tuesday 16 July 2013

Peg Bag

For me, some of the simplest things in life are the ones that make me smile the most. If the weather man(or woman!) promises a day of no rain then that means only one thing to me.....I can hang my washing out!!

Living in a flat in London often means that space is limited so I love making the most of it and the smell of air dried washing takes some beating. The only draw back to this is the mysterious disappearance of my pegs. So to remedy this, I decided I would make and use a peg bag...for the first time ever.

You will need:
2 contrasting fabrics (I used a lilac print oil cloth for the outside and a purple cotton for the lining and tags.
Cotton
2 buttons (optional)

1) Using your outer fabric cut 2 rectangles both 25cm(w) x 35cm(l)
2) Take one of your rectangles and measure 10cm down and cut across so you now have 2 pieces of fabric. One measuring 25cm x 25cm and one measuring 25cm(w) x 10cm(l)

3) Now, using your lining fabric cut three pieces. Cut one rectangle 25cm(w) x 35cm(l) this will be the same as the outer fabric, another 25cm(w) x 27cm(l) and, a small rectangle 25cm(w) x 12cm(l)
4) Cut two more pieces from your lining fabric, both measuring 18cm(l) x 6cm(w). These will become loops that you hang your peg bag by.


5) Take your loop pieces and length ways fold in each side 1cm then press. Once satisfied with your seams fold your loop fabric in half lengthways(so that the seams you have created are on the inside) and press again. Do this to both pieces of loop fabric

6) Sew along the open edge of your loop fabric(how far in you sew is entirely up to you but make sure it includes the seams you pressed earlier)

7) Put the front of the bag fabrics that measure 25cm x 25cm(outer) and 25cm(w) x 27cm(l) (lining) together, right-sides facing. 

8) Sew these pieces together along the top edge using a 1cm seam. Once sewn, press the seams open.

9) Fold the lining fabric back over the outer fabric and because it was 2cm longer you will be able to press an edging of lining fabric. To neaten this up, top stitch across your newly created edging.


10) Take the loops you made earlier and fold and pin them to the right-side of the back of the bag outer fabric (measuring 25cm x 35cm), at equal distances across the top now sew in place(make sure your loops are pointing down)

11) Take the small rectangle of outer fabric (measuring 25cm(w) x 10cm(l) ) and place, right-sides together, on top of the back outer fabric and loops and pin across the top. Now do the same with the lining fabric but keep the outer and lining fabrics separate.

12) Once all pieces are lined up correctly and pinned into place, sew across the top using a 1cm seam allowance. Once sewn, press the seams open.

13) Put your now sewn outer and lining fabrics(the back and top of the bag) together right-sides facing and pin into place along the top. Once pinned into place, sew, again using a 1cm seam allowance.

14) As in step 9 with the front of the bag piece, fold the lining back over the outer fabric to create an edging of lining fabric over the outer fabric the press and top stitch to neaten.

15) Fold the small rectangle over so right sides are together and pin along the sides. Place the front bag piece, right sides together on the other half of the bag back and pin around the edge.

16) using a 1cm seam allowance, sew around all of your pinned edges. Once done press the entire bag and turn in the right way (I pressed mine whilst it was inside out otherwise the oil cloth would have burned)

If attaching buttons, fold your loops over to work out where you will need to sew them. Otherwise you can either slide your bag onto your washing line if you have a detachable one like my mum or you can do as I do and peg it on the line!

Hey presto, one peg bag!!!


Whatever you do with your laundry, enjoy the weather!

                                                                               M xx

Saturday 13 July 2013

It's that time of year again!

Having three children often brings chaos and madness to any 'normal' week but once July sets in, it really does get crazy in our house. More so this year because my first born is off to high school in September and my little man will officially join the school and start reception.
So on top of the usual summer fair, sports days, end of term discos, award ceremonies, summer holiday prep and sourcing and making thank you teacher gifts this year I've also had to contend with secondary taster days, reception stay and play days, form filling and transition meetings.

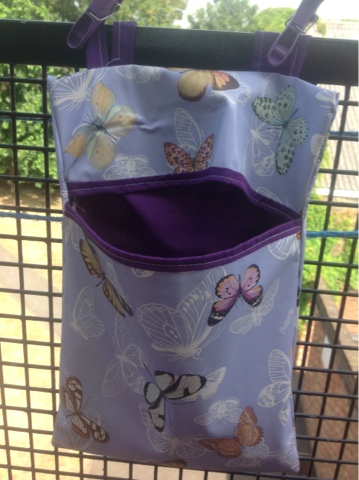
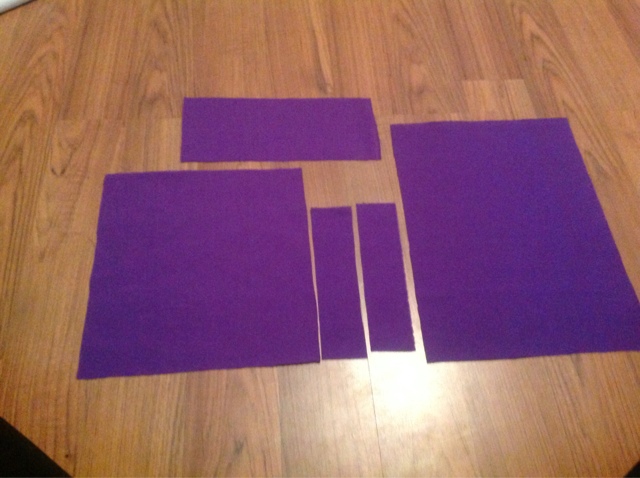
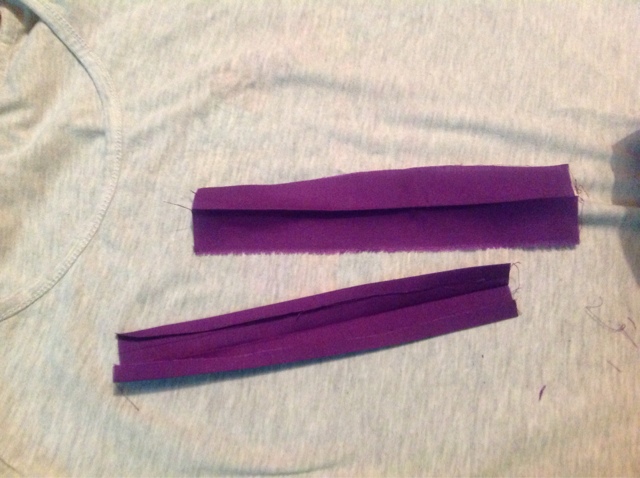
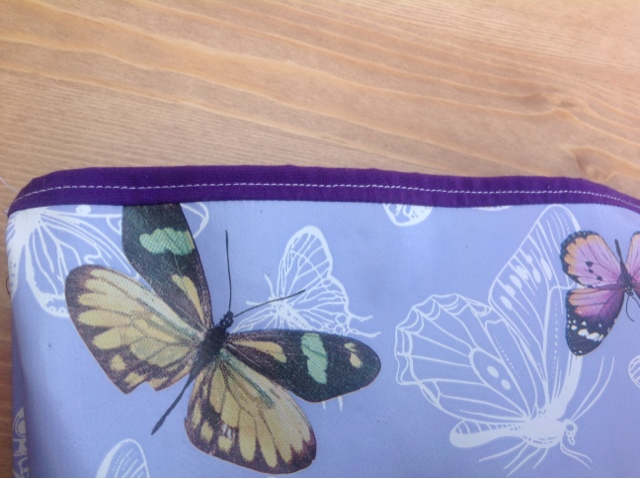
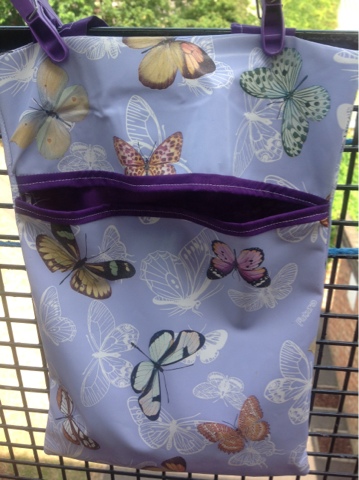
Keeping me sane through all of this has been the hum of the sewing machine and the whizzing of the whisk. I am the proud owner if a new handmade peg bag, my son now has an activity holder for the car, I have made loads of bottles of different flavour infused oils and I've been taking great pleasure in completing some wedding DIY projects.

I will get around to uploading the tutorials  for these projects just as soon as normality resumes.....although, in our house I'm not quite sure we know what normality is!!!

                             M xx